2026 How to Use Edge Banding Glue Pellets Effectively for Your Projects?
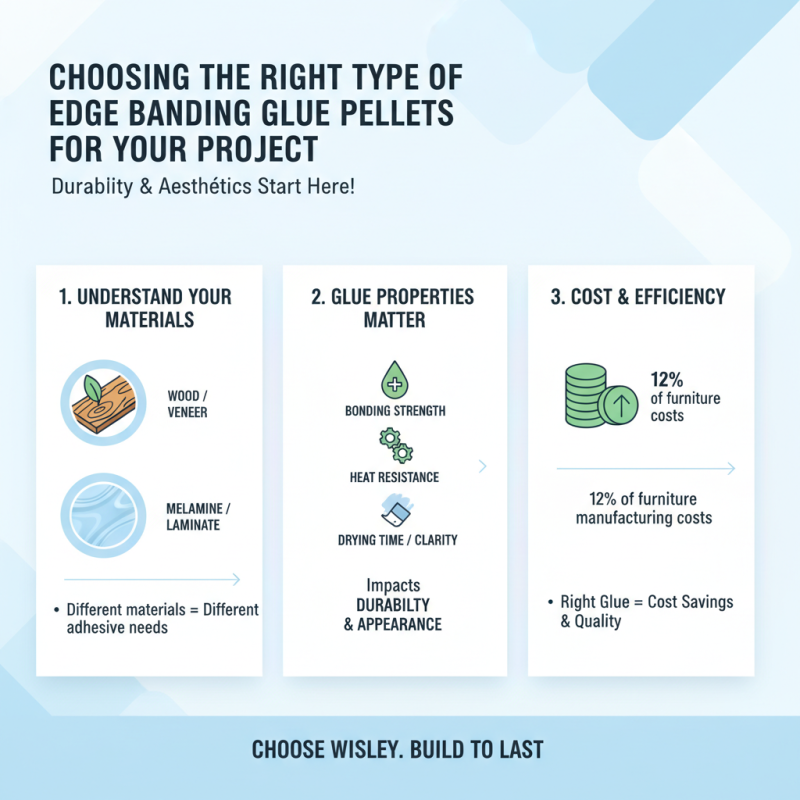
In the world of woodworking, "Edge Banding Glue Pellets" play a crucial role in achieving professional finishes. According to a report from the Woodworking Association, 75% of modern furniture makers have shifted to using glue pellets for edge banding in their projects. These pellets offer a clean and effective bonding solution, improving the overall quality of finished products.
Expert Hans Müller, a leading figure in the edge banding industry, emphasizes, "Using Edge Banding Glue Pellets not only enhances durability but also streamlines the application process." This statement highlights the growing reliance on such materials among industry professionals. However, achieving the best results with glue pellets requires careful attention to detail and technique.
Many users often overlook proper heating and application methods, which can lead to poor adhesion and unsatisfactory results. The material itself is versatile, but mishandling can diminish its effectiveness. As more artisans embrace glue pellets, it is essential to understand not only their benefits but also the potential pitfalls involved in their use. Aiming for excellence means refining our approach to applying Edge Banding Glue Pellets effectively.
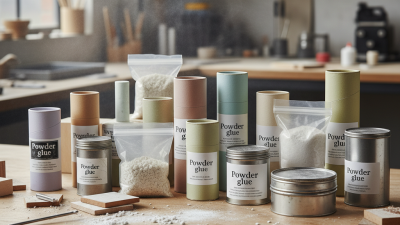
Understanding Edge Banding Glue Pellets and Their Composition
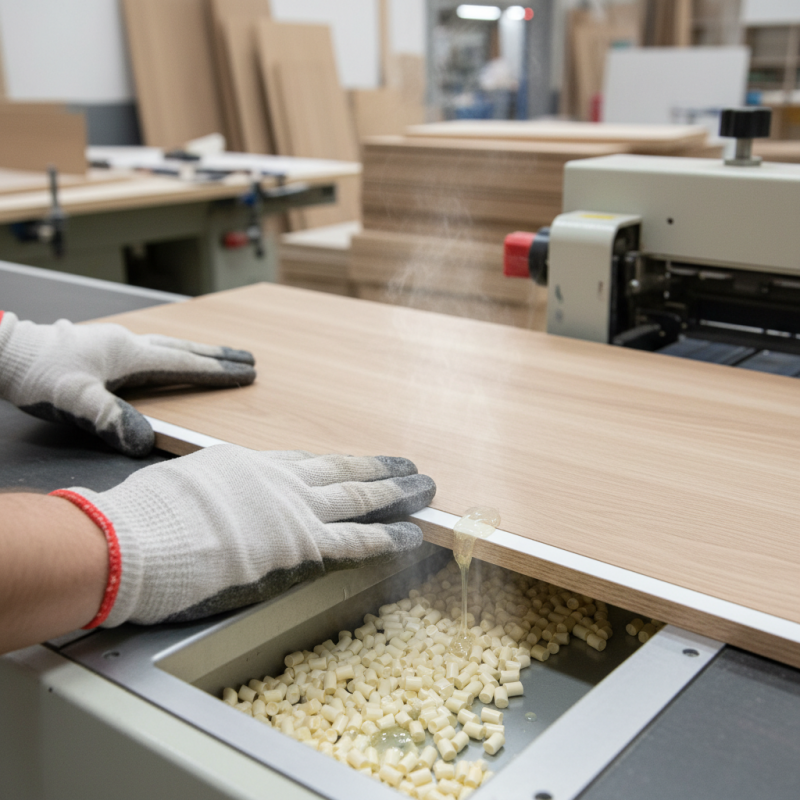
Edge banding glue pellets are essential for achieving professional finishes on plywood edges. These pellets consist of a thermoplastic substance that melts when heated. Once melted, they create a strong bond between the edge banding material and the plywood. Understanding their composition can greatly improve your projects.
When working with glue pellets, consider the temperature settings of your glue application tools. Too high of a temperature can weaken the bond, leading to flaking or chipping. A lower temperature may not allow proper adhesion, resulting in a poor finish. Testing on scrap wood can help find the ideal melting point.
Tips: Always clean the edges of the plywood before applying glue pellets. Dust and grease can affect adhesion. Using a brush to apply a thin layer of glue before placing the banding can lead to better results. Be patient while waiting for the bond to set. Rushing can result in sloppy edges.
Pay attention to the application technique. Press down firmly while the glue cools for a seamless finish. If you notice bubbles or gaps, reflect on your application method. Adjusting your approach can significantly change the outcome. Understanding these details can elevate the quality of your woodworking projects.
2026 How to Use Edge Banding Glue Pellets Effectively for Your Projects
| Property |
Description |
| Composition |
Typically made from EVA (Ethylene Vinyl Acetate) or hot melt adhesives. |
| Melting Point |
Varies between 100°C to 200°C depending on the formulation. |
| Application Method |
Applied using a hot glue gun or edge banding machine. |
| Curing Time |
Cures quickly, generally within a few seconds to minutes. |
| Cross-Linking |
Provides enhanced durability and adhesion when cooled. |
| Environmental Resistance |
Resistant to water and temperature variations after curing. |
| Suitable Materials |
Works well with wood, laminated boards, and MDF. |
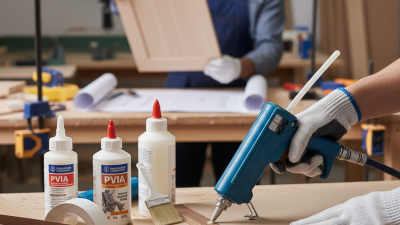
Preparing Your Materials and Workspace for Efficient Glue Application
When preparing for glue application, proper workspace organization is key. Clear your work surface of debris and clutter. This creates a focused environment. Gather all necessary tools: edge banding glue pellets, an application brush, and a heat source. Lay out your materials within easy reach. This saves time and reduces distractions during the gluing process.
It's crucial to ensure your materials are dry and clean. Moisture can hinder adhesion and affect the quality of your project. Inspect each piece of wood for dust and grime. Even a small speck can interfere with the glue bond. Temperature also plays a role; working in moderate conditions can improve glue performance. Reflect on your previous experiences with glue application. What worked well? What didn’t? Learn from those moments to enhance your technique.
Lastly, consider practicing on scrap material. This allows you to test your methods without risking your main project. Errors are part of the learning curve, so embrace them. They provide valuable insights into your workflow and can help refine your skills. Preparing your workspace and materials carefully can significantly impact the effectiveness of your edge banding glue application.
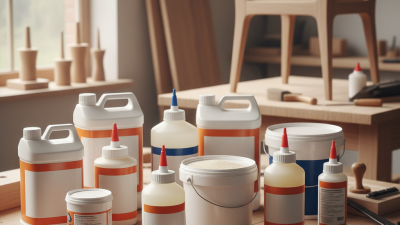
Effectiveness of Different Edge Banding Glue Pellets
Step-by-Step Guide to Applying Edge Banding Glue Pellets
Applying edge banding glue pellets can significantly enhance the finish of your woodworking projects. This step-by-step guide will show you how to use these pellets effectively.
Begin by preparing your workspace and materials. Ensure that your edge banding tape fits snugly on the project surface. Gather the glue pellets, a heat gun, and a trimming tool. Measure the length of the edge banding needed. Cut accordingly, allowing for a slight overhang. This ensures full coverage during the application.
Next, apply heat to the glue pellets using the heat gun. Watch closely as they begin to melt. Once molten, quickly place the edge banding onto the prepared surface. Apply even pressure for a few seconds to ensure proper adhesion. If the glue spills outside the edges, don't panic. You can trim it later. It’s essential to pace yourself during this process. Rushing may lead to uneven application or a messy finish. Always take a moment to assess your work before moving on to the next step. A little extra care can prevent major issues later in your project.
Tips for Proper Curing and Finishing After Glue Application
When using edge banding glue pellets, proper curing is crucial for durability. After applying the glue, ensure good air circulation around the project. This can significantly impact how the glue sets. Allow the glue to cure at room temperature. Extreme temperatures can lead to uneven curing and poor adhesion.
Be mindful of the curing time; it may vary based on environmental factors. Even slight humidity changes can affect the finish. If the glue does not cure properly, the edge banding may lift or bubble over time. Check for imperfections before proceeding to the next step.
Once cured, sanding is essential to achieve a smooth finish. Use fine-grit sandpaper to avoid damaging the edge banding. Dust off any residue to prepare for finishing. Applying a sealer can enhance the appearance and provide additional protection. Reflect on your process; if there are issues with adhesion, consider adjusting the amount of glue used. Adjustments can lead to better results in your next project. Each step matters for achieving a polished and professional look.
 +86-15666836565

 CONTACT NUMBER