How to Use Eva Hot Melt Glue for Your Crafting Projects?
Eva Hot Melt Glue has become a vital component in various crafting projects. According to a report by the Adhesive and Sealant Council, the global hot melt adhesive market is projected to reach $9 billion by 2025. This growth reflects the increasing popularity of materials like Eva Hot Melt Glue among crafters. Expert Jessica Wong, a renowned adhesive specialist, states, "Eva Hot Melt Glue provides unmatched versatility for creative projects."
Craft enthusiasts appreciate the bonds formed by Eva Hot Melt Glue. It adheres to numerous surfaces, including wood, fabric, and plastic. Crafters often find themselves navigating the learning curve associated with temperature settings and application methods. Misapplication can lead to uneven adhesion, which reminds users to perfect their techniques. The opportunity for exploration makes the crafting experience rewarding.
Each project using Eva Hot Melt Glue presents a chance for growth and improvement. Mistakes are natural, but embracing them can lead to greater expertise. The balance between creativity and technique is essential for achieving desirable results. In the world of crafting, mastering Eva Hot Melt Glue can enhance the final product.
Choosing the Right Eva Hot Melt Glue for Your Projects
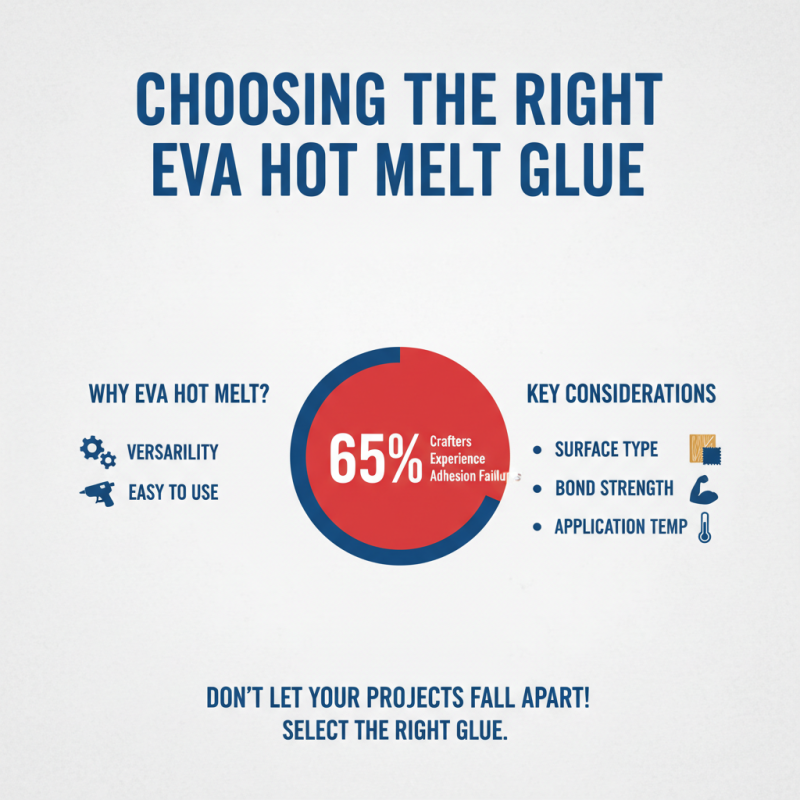
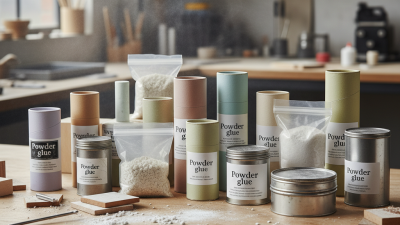
Choosing the right EVA hot melt glue for your crafting projects is crucial. The wrong adhesive can lead to poor results. According to industry reports, 65% of crafters have experienced adhesion failures due to mismatched glue types. EVA hot melt glue is popular for its versatility and ease of use. It is effective on various surfaces, but selecting the right variant is key.
When considering your project, think about thickness and application method. For lightweight materials, a low-temperature glue stick is often sufficient. On the other hand, heavy-duty projects require high-temperature glue for stronger bonds. The viscosity of the glue also matters. A thicker glue provides a strong bond but might be harder to apply precisely.
**Tip:** Experiment with different glue types on scrap materials to find the best match for your project. Remember, the drying time can vary significantly; some EVA glues set quickly, while others take longer to cure. Understanding these variations can prevent frustration during your crafting sessions. Also, always check the manufacturer's guidelines for safe applications and temperature ranges.
Preparing Your Materials and Workspace for Crafting
Preparing your materials and workspace is crucial for a successful crafting session. Start by gathering all the materials you’ll need. This includes the hot melt glue, your chosen substrates, and any decorative elements. Lay them out on your workspace to see everything clearly. Use a clean, flat surface to avoid interruptions. An organized space helps you focus better on your project.
Make sure to protect your work area. A simple covering, like old newspapers or a craft mat, can save you from glue spills. Hot melt glue can be messy, and you don’t want to ruin your table. Keep a damp cloth nearby for quick clean-ups. Lighting is also important. A well-lit area prevents mistakes and accidents.
While preparing, reflect on your previous projects. Did you face challenges? What worked well? This is your chance to learn. Remember, crafting is a journey. Each project is an opportunity to improve your skills and find your style. Embrace the imperfections. They can lead to unique creative solutions.
Usage of Eva Hot Melt Glue in Crafting Projects
Step-by-Step Guide to Using Eva Hot Melt Glue
Using Eva hot melt glue in your crafting projects can be a game changer. This type of adhesive is widely favored due to its strong bonding qualities and ease of use. The Global Hot Melt Adhesives Market report indicates a significant growth in this sector, projecting a compound annual growth rate (CAGR) of 5.8% from 2020 to 2025. This reflects a growing reliance on these adhesives for various applications, including crafting.
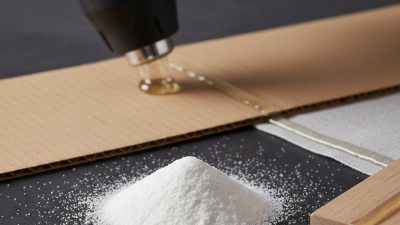
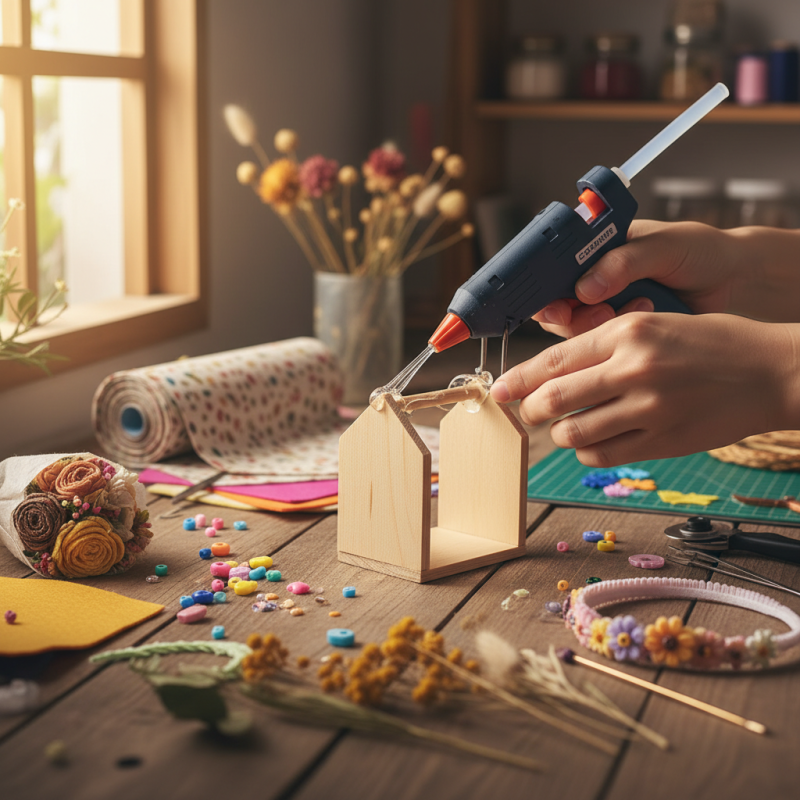
To use Eva hot melt glue, start with a clean workspace. Prepare your materials, ensuring they are dry and free from dust. Turn on your glue gun and let it heat up for about 10 minutes. During this time, you can plan your project. It's important to control the amount of glue applied. Too much can create messiness, while too little may compromise the bond. A consistent application is key. The softening point of Eva glue is around 70°C, which allows for quick setting but can also be a risk for burns.
When working with Eva glue, some challenges may arise. For instance, thick materials can require additional glue for a strong hold. You might also experience difficulty in repositioning items after gluing, as the bond sets quickly. These issues highlight the importance of practicing and refining your technique. Crafting with Eva hot melt glue can be rewarding, but attention to detail is essential for the best results.
Tips for Enhancing Your Crafting with Eva Hot Melt Glue
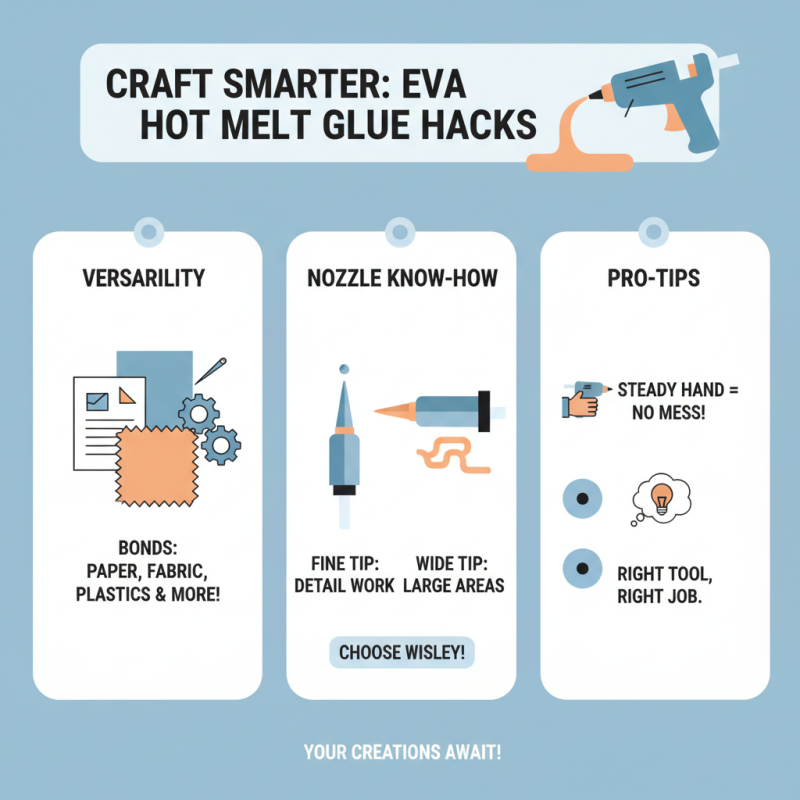
Eva hot melt glue is a versatile option for crafting. It’s great for various materials, like paper, fabric, and even some plastics. To enhance your crafting, consider using the right nozzle tip. There are various sizes available. A fine tip helps with detailed work, while a wider tip is better for larger areas. Use a steady hand to avoid mess.
Timing is crucial when using hot melt glue. It sets quickly, but you may need to adjust pieces. Test your project on smaller scales first. This way, you won’t waste materials. Sometimes, the glue may not fully adhere. This can be frustrating, but experimenting with the right amount can solve the issue.
Don't overlook safety precautions. Always use glue in a well-ventilated area. A hot glue gun can cause burns. It’s wise to keep it out of reach of children. Taking these simple steps enhances your crafting experience and keeps your projects safe. Keep a journal of your processes. It helps in reflecting what worked. This practice can improve your skills over time.
Common Mistakes to Avoid When Using Eva Hot Melt Glue
When using Eva hot melt glue for your crafting projects, avoid some common pitfalls. One major mistake is not allowing enough time for the glue to cool. Rushing the process can lead to items falling apart. It's essential to be patient and let the glue set properly.
Another frequent error is applying too much glue. A thick layer can cause a mess and may not adhere properly. Instead, aim for a thin, even application. This approach ensures a clean finish and strong bond. Also, remember to keep your glue gun at the right temperature. If it’s too hot, the glue can bubble and lose effectiveness.
Not cleaning the surfaces before gluing is another oversight. Dust and grease can weaken the bond. Ensure all surfaces are clean and dry. Finally, practice makes perfect. Experiment with different techniques to see what works best for your projects. Learning from these mistakes enhances your crafting skills.
How to Use Eva Hot Melt Glue for Your Crafting Projects? - Common Mistakes to Avoid When Using Eva Hot Melt Glue
| Common Mistakes |
Description |
Tips to Avoid |
| Using Uneven Amounts |
Applying too much or too little glue can lead to weak bonds. |
Measure glue amounts carefully for optimal adhesion. |
| Inadequate Heating |
Not allowing the glue to heat sufficiently can result in poor bonding. |
Ensure the glue gun is fully heated before use. |
| Rushing the Process |
Hurrying to join pieces can lead to misalignment. |
Take your time to position items correctly before the glue sets. |
| Ignoring Safety Precautions |
Hot glue can cause burns if not handled properly. |
Wear gloves and work carefully to avoid injury. |
| Poor Surface Preparation |
Dusty or oily surfaces can prevent the glue from adhering properly. |
Clean surfaces before applying glue for better results. |
 +86-15666836565

 CONTACT NUMBER