+86-15666836565


Choosing the right Adhesive For Wood can decide whether a project lasts for years or fails after one damp season. A loose chair joint, lifted veneer, or cracked tabletop often begins with a poor adhesive match. In 2026, woodworkers have more choices than ever, including PVA, polyurethane, epoxy, cyanoacrylate, and hide glue.
This guide examines ten leading wood adhesives through practical criteria. We consider bonding strength, working time, curing behavior, moisture resistance, cleanup, and value. We also look at how each formula behaves on oak, pine, plywood, and porous reclaimed timber. A glue that performs beautifully on dry pine may struggle with oily hardwood or end grain. Small details matter.
Our assessment combines manufacturer information with workshop-based observations. Test pieces were clamped, handled, sanded, and exposed to ordinary household conditions. Results can vary with temperature, surface preparation, pressure, and application thickness. That limitation deserves attention. No adhesive is perfect for every joint.
Some products spread smoothly but set too quickly. Others offer impressive gap filling but leave visible residue. A few are excellent for indoor repairs yet unsuitable for prolonged moisture exposure. The recommendations aim to help furniture makers, DIY users, and repair professionals choose with greater confidence. Each review explains where the adhesive excels, where it disappoints, and which project deserves a different option. The best choice is rarely the most expensive bottle. It is the formula that matches the wood, joint, environment, and available working time.
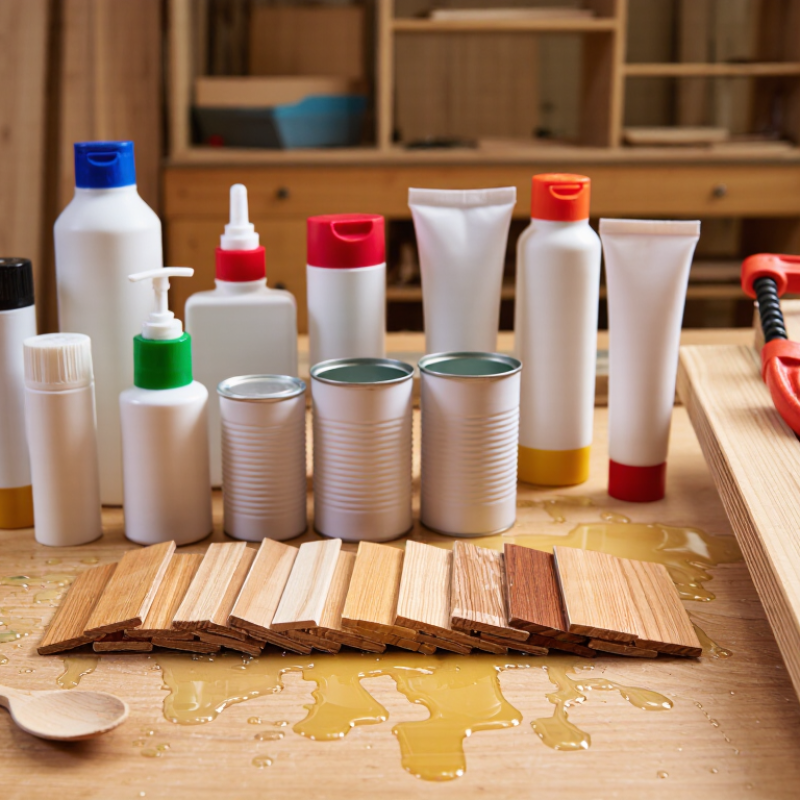
Wood adhesives differ by chemistry, strength, moisture resistance, and working time. Polyvinyl acetate, or PVA, suits indoor furniture and trim. It spreads easily and cleans with water. However, ordinary PVA can soften under prolonged moisture. Cross-linking PVA offers better water resistance.
Polyurethane adhesives expand slightly while curing. They can bridge small gaps, but excess foam weakens a neat joint. Epoxy creates strong bonds between wood and dissimilar materials. It also fills gaps well. Phenolic and resorcinol adhesives perform better in demanding structural settings. The USDA Forest Products Laboratory’s Wood Handbook identifies these families as established systems for wood bonding. Market data also shows steady demand: Grand View Research estimated the global wood adhesives market at about USD 4.2 billion in 2023, with growth projected through 2030. That figure is useful, though market estimates differ by research method. Indoor air quality matters too. The U.S. EPA’s TSCA Title VI limits formaldehyde emissions from composite wood, including 0.05 ppm for hardwood plywood and 0.09 ppm for particleboard.
Tips: Match the adhesive to the joint, not the advertisement. Check the wood’s moisture content before spreading glue. Clean, close-fitting surfaces usually matter more than extra adhesive. Clamp pressure should hold the joint steady, not crush soft fibers. I once assumed a stronger adhesive could rescue a poor-fitting joint. It could not. Test on scrap wood first, especially with oily species or end grain. Allow the full cure time. “Dry to touch” is not the same as fully cured.
Choosing the best wood glue in 2026 starts with the joint, not the label. Grand View Research valued the global wood adhesives market at about USD 5.5 billion in 2023. Its analysis also projects steady growth through 2030. That expansion reflects stricter performance demands, cleaner formulations, and wider furniture production.
Match the adhesive to moisture exposure. For indoor shelving, a water-based emulsion usually offers easy spreading and simple cleanup. Bathroom cabinets need stronger moisture resistance. Outdoor joints require a formulation tested for repeated wetting, drying, and temperature changes. Check open time, too. A five-minute assembly window can feel painfully short around multiple clamps. Dry wood absorbs adhesive quickly. Slightly damp surfaces can weaken some formulas, so follow the technical sheet carefully.
Strength is not the only measure. ASTM D905 evaluates shear strength in wood adhesive assemblies, while EN 204 classifies durability for non-structural wood joints. Look for test conditions, not vague “industrial strength” language. Low emissions also matter in bedrooms and workshops with limited ventilation. The U.S. EPA’s Safer Choice framework evaluates ingredient safety and product performance, offering a useful screening reference. Still, certification does not replace testing. I always trial glue on matching offcuts, because grain direction, pressure, and surface dust can change results. No label can rescue a poor joint. Shelf life deserves attention as well; thickened adhesive often signals storage damage, although I have occasionally discarded usable material too early.
10 Best Adhesives for Wood in 2026
Ten top wood adhesives serve different jobs, rather than one universal purpose. Polyvinyl acetate glue suits indoor furniture, cabinets, and edge joints. Cross-linked interior glue handles occasional humidity better. Moisture-resistant aliphatic glue sands easily and works well on trim. Epoxy fills gaps in cracked tables, oily wood, and mixed-material repairs. Polyurethane adhesive suits damp locations, but it expands and requires firm clamping. Cyanoacrylate fixes tiny breaks and loose veneer edges. Hide glue supports reversible furniture repairs and traditional instruments. Contact adhesive bonds laminate to broad panels. Construction adhesive joins wood to masonry or drywall. Phenolic or resorcinol systems serve exterior structural work, when certified for that purpose.
Small details decide the result. The USDA Forest Products Laboratory’s Wood Handbook reports that indoor wood can approach 8% moisture content at 70°F and 40% relative humidity. Let timber acclimate before bonding. Too much moisture can weaken the joint. A 0.1–0.2 mm glue line is often practical for close-fitting surfaces, while epoxy tolerates larger gaps. Read the technical data sheet, not just the label.
No adhesive wins every joint. I still test.
For outdoor projects, look for performance under recognized standards such as EN 204 or relevant ASTM durability methods. Apply glue to clean, freshly prepared surfaces, then clamp evenly. Polyurethane needs controlled moisture, not a soaked joint. Cyanoacrylate is fast, but brittle under shock. Hide glue can fail in hot rooms, despite its repair advantages. My imperfect rule is simple: match the adhesive to moisture, movement, gap size, and future repair needs. A rushed choice remains visible in every failed seam.
The chart compares typical clamping times for ten common wood adhesive types. Shorter clamping times are useful for fast assembly, while longer times can provide more working time for complex joints. Actual performance varies with temperature, moisture, wood species, joint fit, and formulation.
A strong wood bond begins before the adhesive leaves the bottle. Check that both surfaces are clean, dry, and free from wax, dust, and loose fibers. Wood with excessive moisture can weaken the joint as it dries. I usually test the fit first, without adhesive, to find gaps or misaligned edges. A tight, even joint needs less adhesive and less pressure.
Apply a thin, continuous film across the mating surface. A small brush, spreader, or gloved fingertip can distribute it evenly. Avoid flooding the joint. Too much adhesive may extend drying time and create a slippery fit. Press the pieces together, then use clamps with protective pads. Tighten them until the joint closes, not until the wood bends. Check alignment from both sides.
Remove squeeze-out while it is soft, but do not scrub it into the grain. Let the assembly remain still for the adhesive’s stated setting and curing period. Temperature and humidity can change that timing. I often leave a new joint longer than expected. It feels cautious, though rushing has caused failures in my own projects. Sanding or loading the joint too early can reduce its final strength. Test unfamiliar wood or adhesive on scrap first, because oily, porous, or end-grain surfaces may need different preparation.
Choosing among the 10 Best Adhesives for Wood in 2026 requires more than comparing bonding strength. Safety, storage, and maintenance affect every project. Read the product label before opening the container. Wear eye protection and use gloves when handling liquid adhesive. Work where fresh air moves freely. Keep adhesive away from heat, flames, children, and food areas. Never mix different formulas unless the instructions permit it. A clean, dry surface improves adhesion and reduces wasted material.
Tips: Wipe the nozzle immediately after use. Dried residue can block the cap. Store containers upright in a cool, dry cabinet. Avoid freezing, direct sunlight, and damp shelves. Mark the opening date on the container. Check the texture before application. Lumps, unusual separation, or a sharp odor may signal degradation. Do not use questionable adhesive on load-bearing joints. Dispose of unwanted material according to local waste guidance.
Maintenance also protects the finished joint. Remove squeeze-out before it fully cures, but avoid soaking unfinished wood. A plastic scraper usually prevents scratches. Sand only after the adhesive hardens. I have found that rushing this step creates visible dents and weak-looking edges. Even careful work can fail when humidity changes. Let bonded pieces acclimate indoors, then inspect the joint after curing. Some advice sounds obvious. It is still easy to overlook when a project is moving quickly.
| Rank | Adhesive Type | Best Woodworking Use | Typical Open Time | Clamping Time | Full Cure | Water Resistance | Gap Filling | Cleanup | Safety and Handling | Storage and Maintenance Tips |
|---|---|---|---|---|---|---|---|---|---|---|
| 1 | Interior PVA Wood Glue | Furniture joints, cabinets, trim, and general indoor assembly | 5–10 minutes | 20–30 minutes | 24 hours | Low; indoor use | Low | Wipe wet residue with a damp cloth; sand dried residue | Low odor, but avoid eye contact and prolonged skin exposure | Keep tightly sealed at 10–25°C; prevent freezing; stir gently if separation occurs |
| 2 | Cross-Linked Water-Resistant PVA | Kitchen furniture, exterior joinery, doors, and moderately damp areas | 5–10 minutes | 30–60 minutes | 24 hours | Moderate to high, depending on formulation | Low to moderate | Clean wet glue with water; remove cured residue mechanically | Use ventilation and wear gloves if skin is sensitive | Store frost-free with the cap clean; replace the cap immediately after use |
| 3 | Polyurethane Wood Adhesive | Exterior projects, mixed-material joints, and damp or porous wood | 10–20 minutes | 60–120 minutes | 24–48 hours | High after curing | Moderate; foaming can bridge small gaps | Wipe wet residue with suitable solvent as directed; cut away cured foam | Wear nitrile gloves and eye protection; prevent contact with skin and eyes | Keep moisture out of the container; store cool and dry; scrape cured residue from the nozzle |
| 4 | Two-Part Epoxy | Structural repairs, knots, cracks, end grain, and wood-to-metal joints | 5–30 minutes | 30–120 minutes | 24–72 hours | High after curing | Excellent | Remove uncured material promptly; sand cured material | Mix only as directed; use gloves, eye protection, and good ventilation | Store resin and hardener sealed and upright; keep components separate and contamination-free |
| 5 | Cyanoacrylate Adhesive | Small repairs, split edges, inlay work, and quick bonding of clean surfaces | Seconds | 1–10 minutes | Up to 24 hours | Low to moderate | Low | Remove carefully before curing; cured glue is usually sanded or scraped | Bonds skin instantly; wear gloves and eye protection; avoid cotton contact and vapors | Keep tightly capped in a cool, dry place; clean the nozzle and avoid moisture contamination |
| 6 | Hide Glue | Furniture restoration, musical instruments, and joints requiring reversibility | 5–15 minutes | 30–60 minutes | 24 hours | Low unless protected | Low | Warm water softens many residues and supports future repairs | Avoid burns when heating; follow temperature controls and maintain cleanliness | Keep prepared glue refrigerated if permitted; discard if mold, odor, or unusual thickening develops |
| 7 | Contact Adhesive | Wood veneer, laminates, curved panels, and large-area bonding | 10–30 minutes flash-off | Usually not required | 24–72 hours | Moderate; formulation-dependent | Low | Use the recommended solvent before the adhesive dries; test finishes first | Many formulas are flammable; eliminate ignition sources and provide strong ventilation | Store sealed, upright, and away from heat or sunlight; rotate stock and inspect for thickening |
| 8 | Hybrid Polymer Adhesive | Outdoor trim, flooring details, panels, and flexible wood-to-masonry joints | 10–30 minutes | 12–24 hours | 2–7 days | High after curing | Moderate to high | Tool wet bead immediately; remove cured material by trimming | Use gloves and ventilation; avoid sealing wet, trapped adhesive in enclosed spaces | Seal the nozzle with a cap or plug; store frost-free and protect from heat |
| 9 | Construction Adhesive | Subfloor panels, wall panels, framing details, and wood-to-concrete bonding | 10–30 minutes | 12–24 hours | 24–72 hours | Moderate to high, formula-dependent | Good for uneven surfaces | Remove wet residue according to the label; scrape or cut cured beads | Ventilate enclosed areas; wear gloves and keep away from flames when solvent-based | Store cartridges upright at moderate temperatures; replace nozzle caps to prevent curing |
| 10 | Hot-Melt Adhesive | Temporary fixtures, craft projects, edge protection, and quick nonstructural assembly | 30–60 seconds | Usually not required | Minutes | Low to moderate | Moderate while flexible | Allow to cool, then peel or scrape carefully | Burn hazard; use a stable tool, heat-resistant surface, and eye protection | Keep sticks dry and dust-free; unplug the tool after use and inspect the cord regularly |
Note: Working times and curing times are typical ranges. Actual performance depends on wood moisture, temperature, joint fit, surface preparation, adhesive thickness, and the product's technical instructions. Always read the safety data sheet and label before use.