2026 How to Use Edgebander Glue Pellets for Perfect Edge Banding?
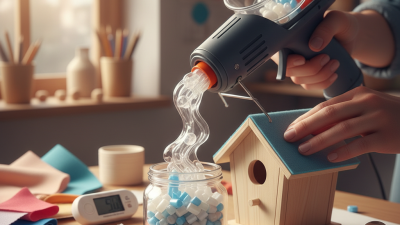
In the realm of woodworking, achieving flawless edge banding is essential for both aesthetics and durability. Edgebander Glue Pellets have emerged as a popular solution for this task. These small, versatile pellets melt quickly and provide a strong bond, making them ideal for various materials. However, using Edgebander Glue Pellets effectively requires attention to detail and technique.
While many artisans find success, some struggle with achieving the desired finish. It's crucial to monitor the temperature settings of your edgebander. Too hot can cause burn marks, while too cool can lead to inadequate adhesion. The method of applying glue pellets also matters. A uniform application helps ensure even bonding, but it often takes practice to perfect this skill.
Many woodworkers face challenges in achieving a seamless edge. This can detract from the overall quality of the piece. Reflecting on these issues can lead to improvements. With patience and a few adjustments in technique, the full potential of Edgebander Glue Pellets can be realized. Each project serves as a learning opportunity, paving the way for future mastery.
Understanding Edgebander Glue Pellets and Their Composition
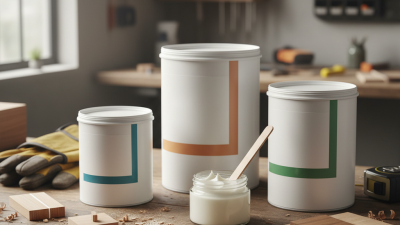
Edgebander glue pellets are crucial for achieving smooth and professional edge banding on various materials. Understanding their composition can elevate your woodworking projects. These pellets typically contain thermoplastic resins and additives that enhance adhesion and durability. The right composition can influence how well the glue performs under different conditions.
Knowing the properties of the glue can help prevent mishaps. For instance, not all glue pellets work equally with every surface. Certain blends may struggle to adhere properly on porous materials. This can result in separation and a less-than-ideal finish. Testing small samples can save you time and frustration.
Tips: Always check the melting point of the pellets. This affects how efficiently they fuse with the edge banding. Store pellets in a cool, dry place to maintain their effectiveness. Keep a regular check on the equipment as overheating can damage the glue quality, leading to poor results. Experimenting with different profiles will help refine your technique over time.
2026 How to Use Edgebander Glue Pellets for Perfect Edge Banding? - Understanding Edgebander Glue Pellets and Their Composition
| Properties |
Description |
Typical Applications |
Composition |
| Color |
Usually transparent or slightly tinted |
Used for clear edge banding |
EVA (Ethylene-Vinyl Acetate) |
| Viscosity |
Medium to high |
Suitable for high-speed production |
Polymeric compounds |
| Temperature Resistance |
Up to 80°C (176°F) |
Ideal for indoor applications |
Thermoplastic materials |
| Curing Time |
Fast setting, typically within minutes |
Used in quick assembly processes |
Additives for rapid curing |
| Bond Strength |
High bond strength suitable for wood |
Used in furniture production |
Acrylic components |
Preparation Steps for Using Edgebander Glue Pellets
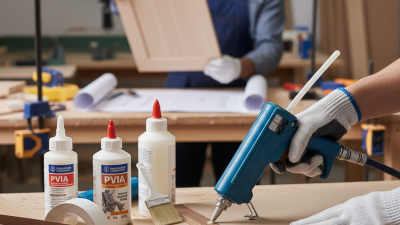
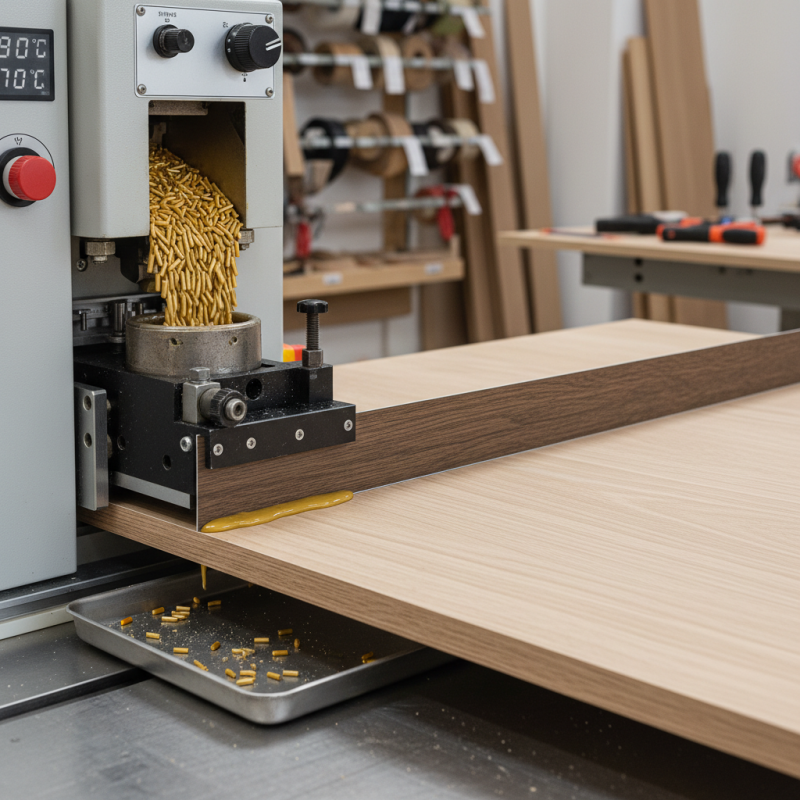
Preparing to use edgebander glue pellets requires some attention to detail. Start by ensuring your workspace is clean and organized. Dust and debris can interfere with gluing. Consider using a vacuum to clear the area. Gather all necessary tools, including a glue pot, scraper, and brush. Having everything within arm's reach will streamline the process.
Next, check the temperature of your glue pot. The right temperature is crucial for proper adhesion. Too hot, and you risk burning the pellets. Too cold, and they may not melt completely. It might take a few adjustments to find the perfect setting. Mixing different types of pellets can also yield varying results. Experiment with small batches to discover what works best for your projects.
Ensure that your edge banding material is compatible with the glue. Incompatible materials can result in poor adhesion or even damage. Take the time to read product specifications. It might be frustrating to re-do a task due to compatibility issues. Reflection on these early steps can save you time and hassle later on. By addressing these details, you can achieve great results with your edge banding projects.
Applying Edgebander Glue Pellets for Optimal Edge Bonding
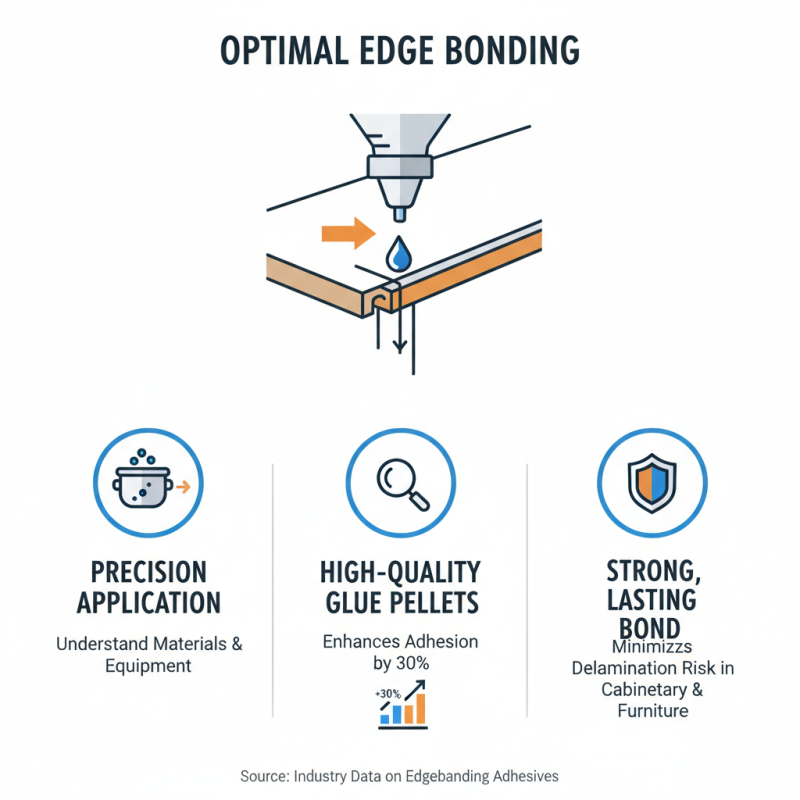
Applying Edgebander Glue Pellets for optimal edge bonding requires precision and an understanding of the materials involved. Many professionals rely on the right type of glue pellet to ensure a strong bond. Industry data shows that using high-quality glue can enhance adhesion by up to 30%. This improvement minimizes the risk of edge delamination, a common issue in cabinetry and furniture making.
When applying glue pellets, maintaining the correct temperature is crucial. Research indicates that glue pellets should be heated to around 190°C for optimal performance. Inadequate heating can lead to poor adhesion, where edges may pop off under stress. Additionally, ensuring a clean surface is essential. Dust and oils can interfere with bonding, leading to unreliable results.
It's important to reflect on your application technique. Many professionals report that applying too much pressure can cause glue squeeze-out, which may be unsightly. Conversely, too little pressure may result in weak bonding. Striking a balance is key. Monitoring the bond quality after application is vital. Routine checks can help identify patterns and areas for improvement, guiding future enhancements in edge banding processes.
Techniques for Achieving Smooth and Clean Edges
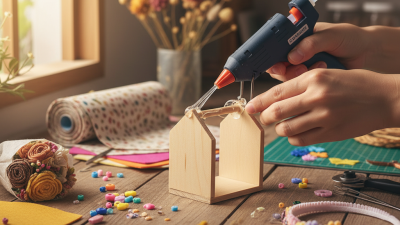
Edge banding is a crucial part of woodworking. Using edgebander glue pellets effectively can greatly enhance your results. For achieving smooth and clean edges, focus on preparation and technique.
Begin by ensuring your materials are clean and dry. Dust and moisture can hinder adhesive performance. When applying glue pellets, heat them according to the manufacturer’s instructions. Experiment with different temperatures. Excess heat can lead to overflow, while too little can create weak bonds. Use a roller to spread the glue evenly.
Align your veneer carefully before applying pressure. Any misalignment can cause unsightly gaps. After bonding, trim excess edges with a router for a seamless finish. Polish the edges for a professional look. Mistakes can happen; learning from them is crucial. If an edge looks rough, assess your technique. A smooth finish comes with practice and attention to detail in the process.
Edge Banding Quality with Edgebander Glue Pellets
This chart illustrates the quality of edge banding achieved using different types of edgebander glue pellets. The data represents user ratings on a scale of 1 to 10, where 10 indicates perfect edge quality.
Troubleshooting Common Issues with Edgebander Glue Pellets
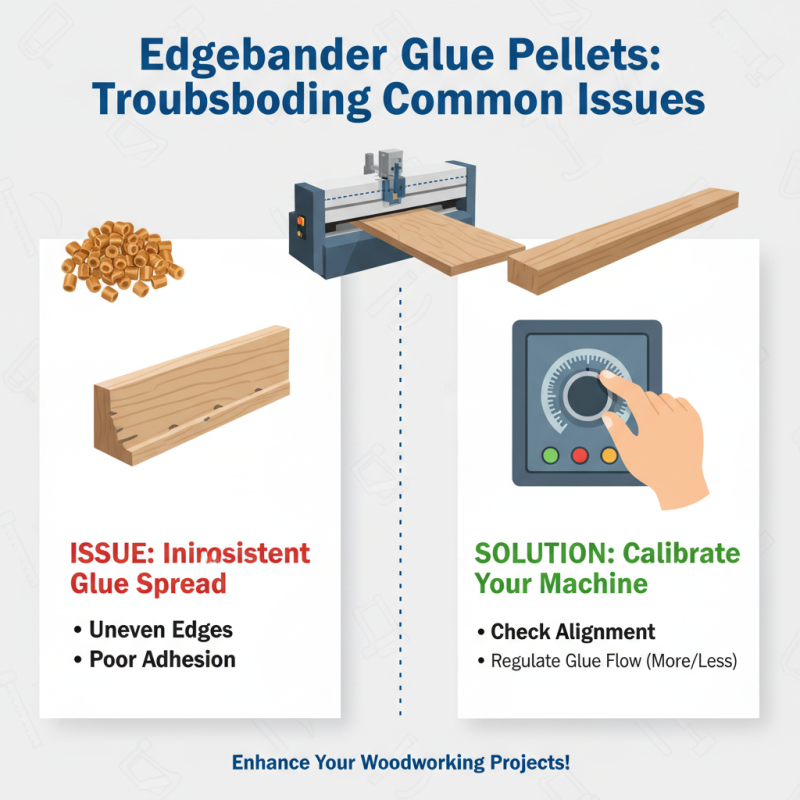
Using edgebander glue pellets can significantly enhance your woodworking projects. However, issues may arise during application. One common problem is inconsistent glue spread. This may lead to uneven edges and poor adhesion. To troubleshoot, ensure your edgebander machine is correctly calibrated. A misalignment can cause excessive or insufficient glue to be applied.
Another common issue is glue stringing. This occurs when excess glue creates strands that mar the finished edge. Adjust the temperature of your glue pot. Lowering the temperature can help mitigate this problem. Also, check the nozzle for clogs. A clean nozzle ensures a smooth glue application.
Finally, watch for glue lumps on your edges. These can lead to a less professional finish. If you see lumps, you may need to slow down the feed rate. A slower pace allows the glue to spread evenly. Remember, even seasoned woodworkers experience challenges with glue pellets. Identifying and addressing these issues will lead to better results in your projects.
 +86-15666836565

 CONTACT NUMBER