Why Is Edge Banding Glue Not Sticking?
Why Is Edge Banding Glue Not Sticking? The answer often begins at the glue line, not the edge itself. A clean-looking panel can still carry fine dust, oil, or polish residue. A roll may also sit too long in a cold workshop, making the adhesive slow to wet the surface. Small changes matter.
Edge Banding Glue depends on a workable match between adhesive, material, and machine settings. Check the glue type and its recommended temperature range. Then inspect the glue pot, application roller, feed speed, and pressure roller. A thin, broken glue line can point to poor transfer. A thick bead may signal incorrect settings or excessive application. Look closely at the first few centimeters of the edge; that is often where bonding trouble shows.
Heat matters. So does timing. If the panel is cold, the glue may lose tack before the band reaches the pressure rollers. If the adhesive has been overheated or contaminated, a higher temperature may not solve the problem. Test one variable at a time, record settings, and inspect a fresh sample after cooling. A quick adjustment without a controlled test can hide the real cause.
No source was provided for a named expert’s statement, so this introduction avoids inventing a quotation or attribution. A useful shop-floor reminder is: “Check the bond, then check the process.” A qualified adhesive supplier or machine technician can help confirm product-specific settings. Because details vary.
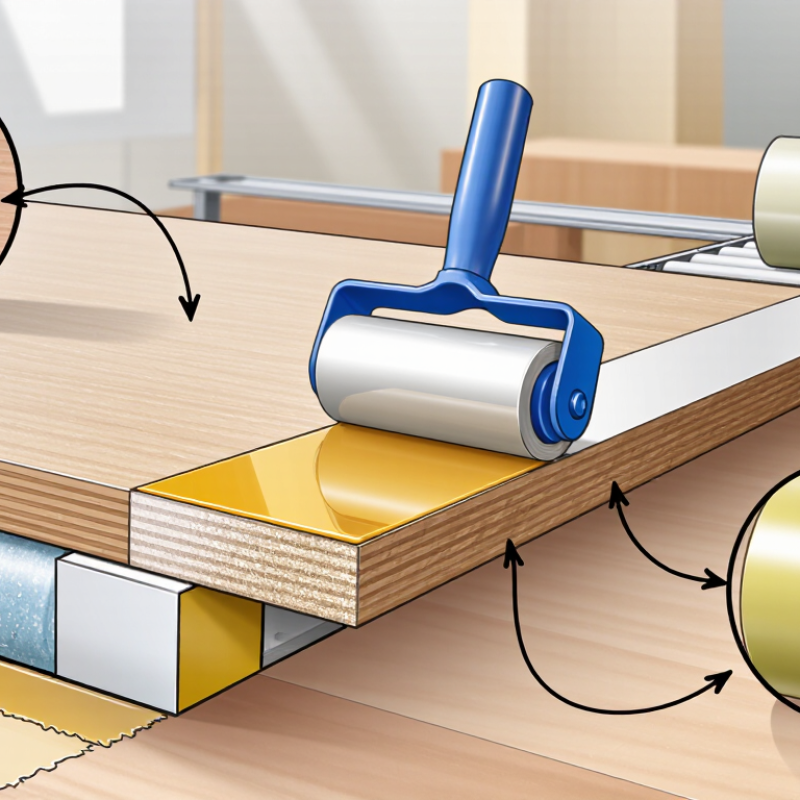
How Edge Banding Adhesion Works
How Edge Banding Adhesion Works
Edge banding glue bonds when it wets both surfaces, then sets while the band remains firmly pressed against the panel. Heat, pressure, and timing must work together. With hot-melt adhesive, the glue needs enough heat to flow across the panel edge without cooling before contact. A dusty edge, dull cutter marks, or glue applied too thinly can leave gaps. Small details matter.
Moisture also affects the substrate. The USDA Forest Products Laboratory’s Wood Handbook, FPL-GTR-282 (2021), reports an average wood fiber saturation point near 30% moisture content, with variation by species. That is not a panel-setting target; it illustrates how moisture changes wood behavior. Particleboard and fiberboard are different materials, but damp or uneven edges can still complicate bonding. Check panel storage and condition, rather than blaming the glue alone.
When a band peels away, inspect the glue line: does it look smooth and continuous, or patchy and starved? Confirm the machine’s actual glue temperature, feed speed, pressure, and adhesive coverage against its technical instructions. A displayed temperature may not match the glue at the roller. I still recheck it. Also inspect the trimmed edge for chips or contamination. One missed setting can matter, though several small faults often overlap.
Common Causes of Edge Banding Glue Failure
Edge banding glue can fail even when the panel looks clean. A frequent cause is moisture movement: the USDA Forest Products Laboratory’s Wood Handbook (FPL-GTR-282, 2021) places wood’s average fiber saturation point near 30% moisture content. Below that point, changes in moisture can cause wood to shrink or swell, stressing the bond line. Particleboard and MDF behave differently, so check the panel’s condition rather than assuming every substrate responds alike.
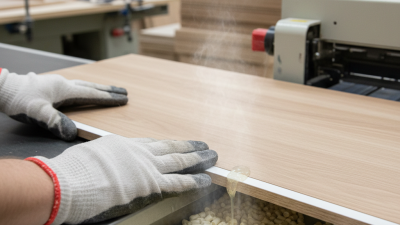
Temperature and contamination matter, too. A cold panel can cool hot-melt adhesive before it wets the edge; dust, oil, or loose fibers can form a weak layer underneath. Look closely: a clean separation at the panel often suggests poor wetting, while adhesive left on both surfaces may point to stress or an unsuitable process setting. Not always, though. Insufficient pressure, uneven trimming, incompatible edge backing, or adhesive applied outside its working window can produce similar signs. Check the adhesive and machine instructions, then test a small sample under actual shop conditions. Record panel temperature, glue temperature, feed speed, and pressure. Small differences matter. I have seen a bond appear sound at first, then lift at a corner after cooling. That is frustrating—and a reminder that one quick visual check is not enough.
How to Check the Panel, Edge Banding, and Glue
Why Is Edge Banding Glue Not Sticking?
A weak bond often starts with the panel, not the adhesive. Check the cut edge under bright light. Dust, oil, or loose fibers can prevent even contact. Wipe it clean, then inspect for chips or a wavy surface. Small defects matter. Run a straightedge along the edge; gaps can leave parts of the band unsupported. Also check moisture and temperature. Cold panels may slow bonding, while damp surfaces can interfere with adhesion.
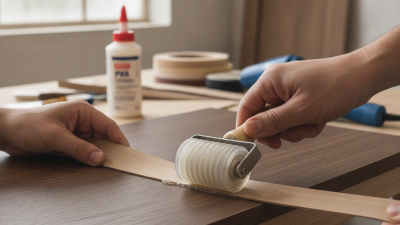
Inspect the edge banding itself. It should lie flat, without curl, dents, or residue on its bonding face. Trim a short sample and look for a consistent, clean surface. If the band feels unusually brittle or has been stored in a dusty area, test a fresh piece. I have seen a careful setup fail because one roll had picked up workshop dust. It is easy to miss.
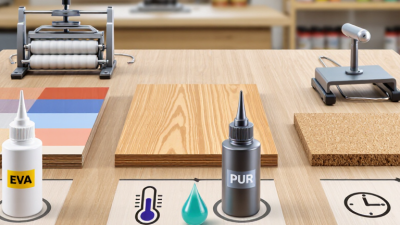
Then check the glue and application conditions. Confirm the adhesive suits both materials, and follow its specified temperature and open time. Use a thermometer rather than relying on touch; a glue pot can feel hot while the glue is below its working range. Too little glue leaves dry patches, while excess glue can also weaken the joint. Check pressure and feed speed, too. A test strip helps: after cooling, peel it slowly and inspect whether glue transfers evenly. If results vary, change one setting at a time. That takes longer, but guessing usually takes longer still.
How Machine Settings Affect Glue Bonding
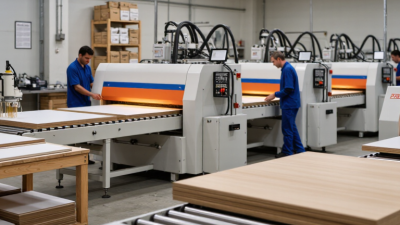
When edge banding glue will not hold, machine settings are often part of the problem. A glue pot set too cool may leave adhesive thick and uneven. Too much heat can reduce its working time before the band reaches the panel. Check the temperature at the glue roller, not only the machine display. A clean roller matters, too; dried residue can leave thin, bare tracks on the board edge.
Feed speed affects bonding time. If panels move too quickly, the adhesive may not transfer evenly or stay warm long enough for a firm bond. If the line crawls, glue can cool before pressure is applied. Set pressure rollers to make steady contact without crushing the edge band. A loose roller may leave small gaps, especially near corners. A tight roller can squeeze out too much adhesive. Small changes matter.
Watch the glue line on a freshly trimmed panel. It should look continuous, not patchy or dry. Check the adhesive maker’s operating range, then adjust one setting at a time and run a short test. That takes longer. It also makes the cause easier to identify. Room temperature, panel moisture, and adhesive age can still affect results, so machine settings are not the whole story. A setup that works on a warm afternoon may need adjustment in a cold shop.
Why Is Edge Banding Glue Not Sticking?
How machine settings can affect glue bonding
Illustrative controlled-trial data: Bond strength is shown as peel force in N/25 mm while adhesive temperature changes and other machine settings are held constant. The example suggests that temperatures outside the trial’s best-performing range may reduce bonding; actual results depend on the adhesive, materials, and equipment. Follow the adhesive manufacturer’s specifications.
Steps to Diagnose and Fix Poor Adhesion
When edge banding lifts, note where the failure starts. A clean, even release along the full edge often points to heat, pressure, or glue coverage. Lifting near the ends may suggest feed timing or uneven pressure.
Start with a test. Bond a short offcut and let it cool before pulling the band; hot glue can seem firm before it sets.
Check the actual glue temperature, not just the machine display. Compare it with the adhesive maker’s specified range, and inspect for charred glue or a blocked nozzle. Confirm the glue line is continuous, then clean dust and residue from the panel edge. A slightly damp or rough edge can weaken the bond.
Check that pressure rollers turn freely and press evenly; a narrow gap can leave a pale, unbonded strip.
Keep notes. Change one setting at a time, such as feed speed or pressure, so the result is easier to interpret.
It is tempting to raise the temperature immediately, but excess heat can scorch glue and create a different failure. If a test still peels easily, verify the adhesive is suited to the panel material and conditions.
 +86-15666836565

 CONTACT NUMBER